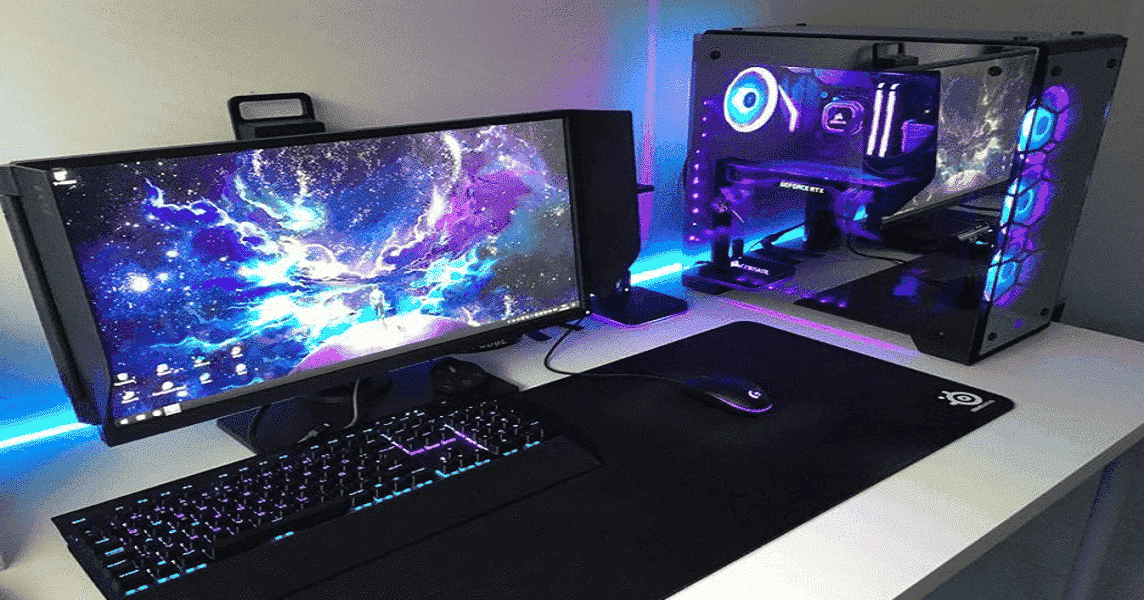
Gaming PC has become more immersive and demanding, requiring hardware that can keep up with the latest titles. Building your own gaming PC can be a rewarding and cost-effective way to enjoy high-performance gaming without breaking the bank. In this guide, we’ll walk you through the step-by-step process of building a gaming PC on a standard budget.
1. Define Your Budget and Gaming Needs:
Before diving into the build process, determine your budget and gaming requirements. A standard budget typically ranges from $600 to $1000, depending on the performance level you aim to achieve and the components you prioritize.
2. Selecting Components:
a. Processor (CPU): Look for a mid-range CPU that offers a balance of performance and affordability, such as AMD Ryzen 5 or Intel Core i5 processors.
b. Graphics Card (GPU): Allocate a significant portion of your budget to the GPU, as it heavily influences gaming performance. Consider mid-range options like NVIDIA GeForce GTX 1660 or AMD Radeon RX 5600 XT.
c. Motherboard: Choose a motherboard compatible with your CPU and GPU, ensuring it has the necessary expansion slots and connectivity options for future upgrades.
d. Memory (RAM): Opt for at least 8GB of DDR4 RAM, preferably in dual-channel configuration, to ensure smooth multitasking and gaming performance.
e. Storage: Invest in a solid-state drive (SSD) for faster boot times and game loading speeds. Consider pairing it with a larger capacity hard disk drive (HDD) for additional storage space.
f. Power Supply (PSU): Select a reliable power supply unit with sufficient wattage to accommodate your components and potential future upgrades.
g. Case: Choose a PC case that accommodates your components and offers good airflow for optimal cooling.
h. Additional Components: Don’t forget about peripherals like a gaming keyboard, mouse, and monitor, which may impact your overall gaming experience.
3. Assembling Your PC:
a. Prepare Your Workspace: Clear a spacious, well-lit area to assemble your PC and gather necessary tools like screwdrivers.
b. Install CPU, RAM, and Storage: Follow the motherboard manual to install the CPU, RAM, and storage devices (SSD/HDD) onto the motherboard.
c. Mount Motherboard in Case: Carefully mount the motherboard into the case, ensuring it aligns with standoffs and fits securely.
d. Install GPU and Power Supply: Insert the graphics card into the appropriate PCIe slot and connect the power supply cables to the motherboard, GPU, and other components.
e. Connect Cables and Front Panel: Connect case cables, front panel connectors, and peripheral devices to their respective ports on the motherboard.
f. Cable Management: Organize cables neatly to improve airflow and aesthetics within the case.
g. Power On and Test: Double-check all connections before powering on your PC. Enter BIOS settings to ensure components are recognized, and perform stress tests to verify stability and temperatures.
4. Install Operating System and Drivers:
After successful assembly, install your preferred operating system (e.g., Windows 10) and update drivers for optimal performance and compatibility with your hardware.
5. Enjoy Your Gaming Experience:
With your newly built gaming PC up and running, it’s time to enjoy the immersive world of gaming. Experiment with graphics settings, explore new titles, and immerse yourself in the endless possibilities of PC gaming.

Conclusion:
Building a gaming PC on a standard budget is a rewarding endeavor that offers both performance and affordability. By carefully selecting components, following assembly guidelines, and testing your system, you can create a custom gaming rig tailored to your needs and preferences. Whether you’re a casual gamer or a seasoned enthusiast, building your own gaming PC opens the door to endless gaming adventures and experiences.